
인라인 스케이트 신고 적응하기
- Inlineskate
- 2024. 1. 17. 22:08
Wearing new shoes and walking in them brings an initial sense of joy and pleasure, making you feel like singing spontaneously. There's also a desire to show them off to someone, and for some reason, when you go outside, you find yourself focusing only on other people's shoes.
You also wait for someone to notice your shoes and comment on them. Sometimes, unfortunately, a close friend might step on them.
Inline boots, it turns out, are not as easy to adapt to as one might think. No matter how hard you try to stand and walk, you end up just rolling the wheels in place.
You want to look cool, but all you end up doing is sweating profusely, not moving forward as you thought, and getting slightly irritated. However, if you try to walk forcefully out of frustration, you risk falling backward.
Of course, there are exceptions: those with excellent athletic abilities who start without a problem.
However, many people who start having problems with balancing from the beginning tend to shy away from wearing inline skates and give up halfway. Most of these people argue, "I don't like my feet being off the ground," which is a valid point.
However, if you overcome this slight challenge, you'll have the opportunity to enjoy and have fun as an inliner, more than you might expect. It's a pity if you give up too early.
So, let me explain about taking baby steps while wearing inline skates, which might be a bit lengthy.
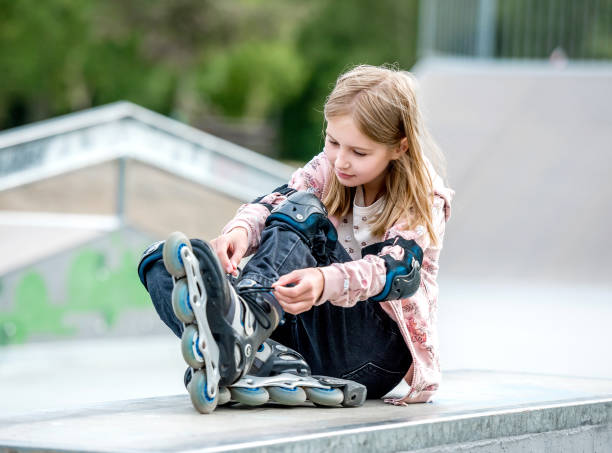
First of all, you should be very careful when putting on inline skates.
Now, let's try wearing inline skate boots.
- Put your foot in and pull the tongue of the boot out so that your foot fits in properly.
- Then, start by tightly pulling the lace at the toe area. As you move up, pull the lace like you would on a hiking boot, ensuring that your foot doesn't move around inside.
- Finally, tie the laces tightly to finish lacing up.
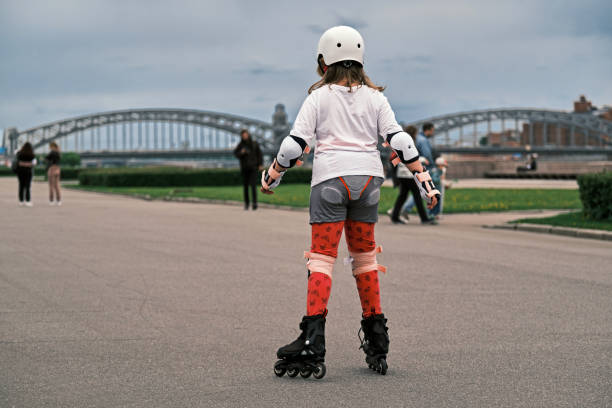
- Now it's time to stand up. If you tied your laces while sitting on a chair, try standing up slowly. Keep your feet in an 11-shape facing forward and rise slowly. Or, make a slight V-shape with your heels touching and stand up. Repeating these postures will let your body find which stance is comfortable.
- Important! When standing up, avoid straightening your body completely. Since inline skates have wheels, if your center of gravity shifts even slightly backward, there's a risk of falling backward. So, when standing up, push your hips slightly back and lean your waist slightly forward. This way, you safely shift your center of gravity a bit forward.
- Once you manage to stand up, try bending your knees. That is, in a state where the wheels aren't rolling forward, or if you feel stable, bend your knees while in the 11-position. Aim for about 120 degrees when viewed from the side. Although this process might not be necessary as you become familiar, it's still recommended for those who feel a bit anxious.
- Rest your shinbone (located just above the ankle) on the tongue of the boot. What do we call the bone at the front of the calf? Ah, the shinbone! When lacing up inline boots, we pull out the tongue and press it against our shins. So, lean on the tongue of the boot with your shinbone.
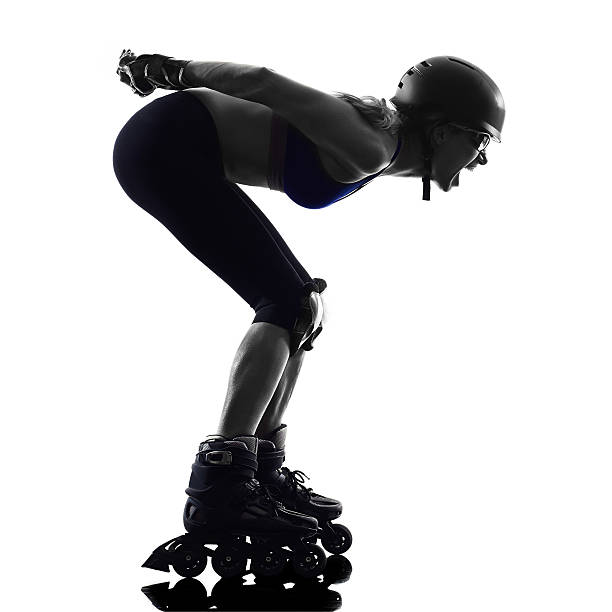
We call this the "forward-leaning posture." When we say "let's get into the forward-leaning posture," it means to load our body onto the boots, with the first step being leaning the shinbone on the tongue of the boot.
You will feel like you're mounting something like a boat on inline boots. It might not be easy at first, but you'll get used to it after practicing a couple of times. Once you get it, the inline skates will naturally move forward. (In fact, it's hard at first. You might not even understand what I'm saying. Anyway, that's how it is.)
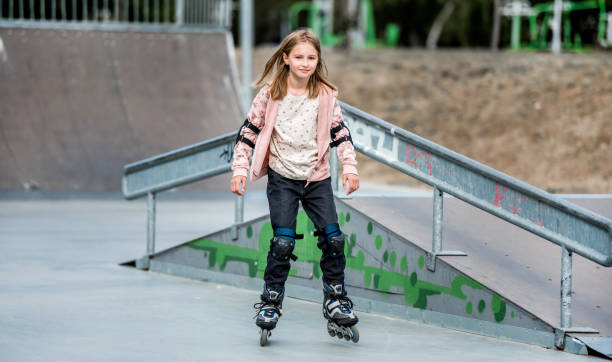
- Once you manage to stand up, we begin walking. First, stand in a V-shape (with heels together, e.g., placing the left heel slightly in front of the right). Assume this stance.
- Then, start walking in a V-shape, starting with the left foot. Left, right, left, right, start walking in a V-shape. As this becomes easier, gradually change your stance from a V-shape to an 11-shape.
- When practicing walking in an 11-shape, you must push to the side. If you walk in an 11-shape, the wheels will just roll, and you won't make progress. So, from the beginning of practicing walking, we adopt the concept of pushing. (I'll talk about pushing separately later.)
- It's more helpful to start walking in a V-shape and gradually shift to an 11-shape than to start walking in an 11-shape right away. Now, we start toddling on the inline track.
- At this point, it's important not to straighten your body if your back hurts. If you straighten up, your center of gravity shifts backward, and you'll find yourself flailing your arms, trying not to fall backward. It's fortunate if you manage to regain your balance without falling, but if you fall backward, it really hurts. So, don't be too hasty, and try to enjoy the process slowly.
See how your body reacts. Today, you've at least started toddling in inline skates.
Soon, you'll be flying around.
Keep at it until then. ^^
안녕하세요.
새 신발을 신고 걸으면 처음엔 기쁘고 즐거운 마음에 노래가 절로 나오게 되죠. 누군가에게 자랑하고 싶은 마음도 생기고 왠지 모르게 밖에 나가면 다른 사람들의 신발에만 온통 시선이 가는 자신을 발견하곤 합니다.
그리고 내 신발을 봐주고 한마디 해 주길 기다리고 있기도 하죠.
그러다가 친한 친구에게 밟히는 불상사가 생기기도 하고요.....@@
인라인 부츠라는 것이 그렇게 생각보다 적응하기가 쉽지가 않습니다.
아무리 일어서서 걸으려고 해도 제자리에서 바퀴만 굴리고 있게 됩니다.
뭐, 멋진 모습을 보이고 싶지만 땀만 삐질 삐질 날 뿐''' 생각처럼 앞으로 나아가지도 않고... 약간의 성질도 돋웁니다.
그러나 성에 못 이겨 힘차게 걸어 보려고 하면 뒤로 꽝! 하고 넘어질 수 있는 위험한 상황이 발생하기도 합니다.
물론 운동 신경이 뛰어나 문제없이 시작을 하시는 분들은 예외입니다.

그러나 처음 시작부터 중심잡기에 대한 문제가 발생하기 시작하면 인라인을 신는 것을 꺼려하고 중도에 포기를 하시는 분들을 많이 봤습니다.
대부분 그런분들은 "난 발이 땅에서 떨어지는 것이 싫어"라고 항변을 합니다. 그것도 맞는 말이긴 합니다.
그렇지만 약간의 도전을 극복하시면 보기보다 재미있고 즐거운 인라이너가 될 수 있는 기회를 가질 수가 있는데 너무 일찍 포기를 하시면 안타까움이 더 클 수밖에 없습니다.
그래서 간단하게 조금은 길어질 수 있는 인라인스케이트 신고 걸음마에 대하여 설명을 하려고 합니다.
우선 인라인은 신으실때부터 주의 깊게 잘 신어 주셔야 합니다.
이제 인라인스케이트 부츠를 신어봅니다.
1. 발을 넣고 부츠의 혀를 잡아 빼면서 발이 안으로 잘 들어가 자리를 잡도록 합니다.
2. 그리고 엄지발가락 부분의 처음 시작하는 부분의 끈을 잘 당겨줍니다.
한 칸씩 올라오면서 마치 등산화의 끈을 매는 것처럼 당겨주어 발이 안쪽에서 놀지 않도록 해 주어야 합니다.
3. 그리고 마지막으로 끈을 꽉 묶어 주어 끈 묶기를 마무리합니다.

4. 자 이제는 일어설 차례입니다. 의자에 앉아서 끈을 묶었다면 그냥 서서히 일어 나 봅니다.
발의 자세는 11자로 앞을 향하게 하고 서서히 일어섭니다.
혹은 약간 V자를 만들어 뒤꿈치가 서로 닿게 하여 일어서 봅니다.
이런 자세들을 여러번 반복하다 보면 어떤 자세가 편한지를 몸이 알아서 알려줍니다.
5. 중요! 그런데 일어설 때에는 몸을 완전히 다 펴는 것을 피해야 합니다.
인라인은 바퀴가 있는 물건이라 무게 중심이 약간이라도 뒤로 가게 되면 뒤로 넘어질 위험이 있습니다.
그래서 일어설 때에는 엉덩이를 약간 뒤로 빼주고 허리를 야간 앞으로 숙여 줍니다.
결국은 무게중심을 안전하게 약간 앞쪽으로 주고 일어서는 것입니다.
6. 그리고 일어서기가 되면 무릎 구부리기를 한번 연습해 봅니다.
그러니까 바퀴가 앞으로 굴러가지 않는 상태에서 혹은 중심이 잘 잡힌다면 그냥 11자를 한 상태에서 무릎을 구부려봅니다.
옆에서 볼때 약 120도 정도 구부려 봅니다.
물론 익숙해지면 이런 과정이 필요 없겠지만 그리고 이 글은 무시하시면 되겠지만 그래도 조금이라도 불안하신 분들은 한번 따라 해 보시기를 권합니다.
7. 부츠의 혀에 우리의 정강이 뼈(위치는 발목 바로 윗부분이지요)를 기대어 봅니다.
종아리 앞의 뼈(이 뼈를 뭐라 부르지요?) 아! 정강이 뼈가 있지요.
인라인 부츠의 끈을 맬 때 우리는 부츠의 혀를 잘 빼서 정강이 쪽으로 붙입니다.
그러니까 지긋히 정강이로 누르는 느낌으로 부츠의 혀에 기대어 보는 것입니다.
우리는 이것을 "전경 자세"라고 부릅니다.
그래서 "전경자세를 취해 봅시다"라고 하면
우리의 몸을 부츠에 실어본다는 것으로
그 첫걸음이 부츠의 혀에 정강뼈를
기대어 보는 것입니다.
그러면 마치 배위에 올라타 있는 느낌으로 인라인 부츠 위에 올라타 있는 느낌을 받습니다.
아마도 처음에는 쉽지 않을 것 같지만 한 번 두 번 연습해 보면 익숙해질 것입니다.
이것이 되면 인라인은 자연스럽게 앞으로 나아가게 됩니다. (사실 처음에는 어렵습니다. 뭔 말인지도 모르겠고.... 암튼 그렇습니다)
8. 일어서기가 잘 되면 우리는 걸음마를 시작하게 되는데 다시 V자로 선 자세로(이때 뒤꿈치는 서로 붙어있게 하시구요. 예를 들면 오른발의 뒤꿈치 약간 앞쪽으로 왼발의 뒤꿈치를 놓게 되면 인라인이 움직임 없이 바로 설 수 있습니다.
아시죠? ) 자세를 잡습니다.
9. 그리고 왼발 부터 V자로 걸어봅니다. 왼발, 오른발, 왼발, 오른발, V자 걸음을 시작합니다.
이것이 쉬워지면 서서히 V자에서 11자로 자세를 바꿔가면서 걸어봅니다.
10. 11자로 걸음마를 연습할 때에는 옆으로 밀어야 합니다.
바퀴 때문에 11자로 걸으면 바퀴만 굴러가고 진행이 안됩니다.
그러니까 걸음마 연습을 시작하면서부터 우리는 푸시라는 개념을 가지고 가게 됩니다.
(나중에 푸시에 대해 이야기는 따로 합니다.)
11. 처음부터 11자로 걸음마를 시작하는 것보다는 V자로 시작하면서 서서히 바꿔 가시는 것이 도움이 됩니다.
이제 우리는 인라인 트랙 위에서 아장아장 걸어보기 시작한 겁니다.
12. 이때 중요한 건 바로 허리가 아프다고 몸을 꼿꼿이 세우면 안 된다는 것입니다.
몸을 일으켜 세우는 동시에 무게중심이 뒤로 옮아 가면서 뒤로 넘어지려고 팔을 바둥거리게 됩니다.
다행히 넘어지지 않고 중심을 다시 잡으면 다행이지만 그렇지 못하고 뒤로 넘어지면 정말 많이 아픕니다. ㅠㅠ'''
너무 조급하게 생각 마시고 천천히 즐겨보는 것이죠.
그리고 나의 몸이 어떻게 반응을 하는지 알아 보시기 바랍니다. 오늘은 그래도 인라인을 신고 걸음마를 시작 했습니다. 조만간 날아 다니실 날이 옵니다.
그때까지 꾸준히 하시기를 바랍니다. ^^
'Inlineskate' 카테고리의 다른 글
| 인라인 스케이트는 허벅지 단련운동 (0) | 2024.01.17 |
|---|---|
| 인라인스케이트 비오는 날 지상훈련 (0) | 2024.01.17 |
| 인라인 스케이트 신발 고르는 방법 (0) | 2024.01.16 |
| 인라인스케이트를 배우려고 한다면... (2) | 2024.01.16 |
| 인라인스케이트 주행 시 자세 허리를 조금 앞으로 가져가 볼까요? (1) | 2023.04.05 |


